Procedural Planets in Blender
18 March 2022
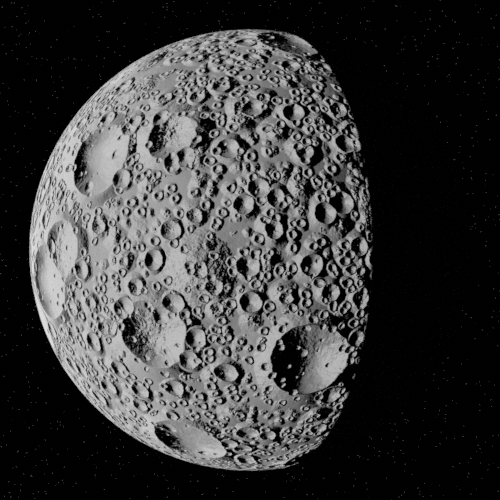
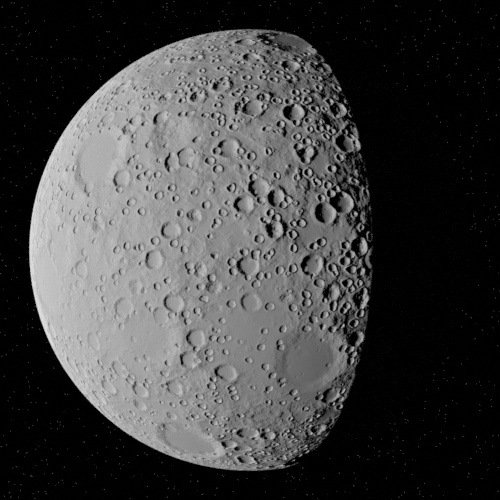
Being set in various star systems throughout space, the planets and moons of said star systems feature prominently in the Planetguard's world. In this blog, I'll walk through the process I used to create one of my planets, Perses. Perses is named after the Greek Titan whose name means "to sack", "to ravage", or "to destroy". As such, Perses is characterized by its very rugged and rough terrain.
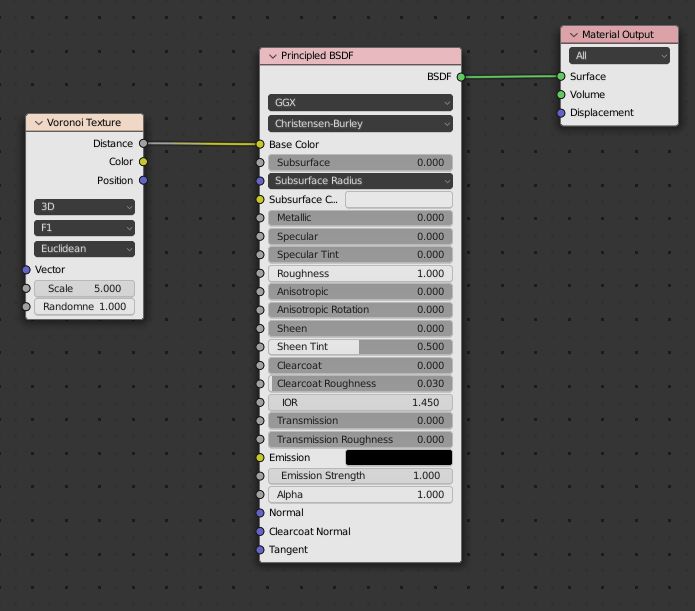
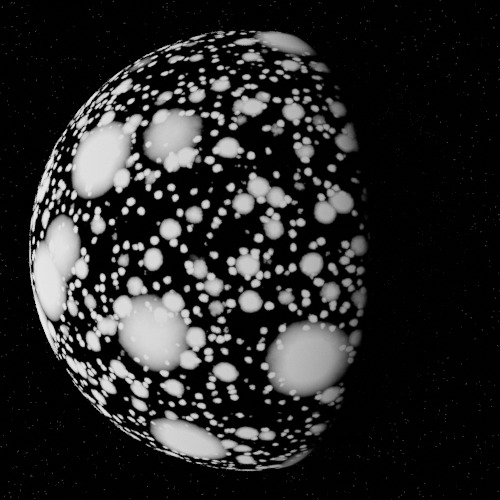
Let's start off by making Perses' defining feature: its craters. First, add a Voronoi Texture, and connect it to the Base Color input just so we can visualize it.
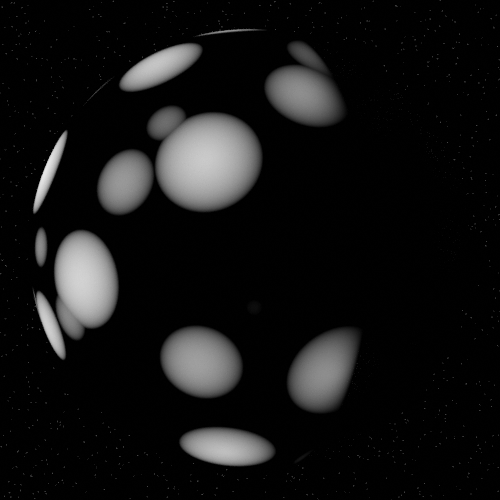
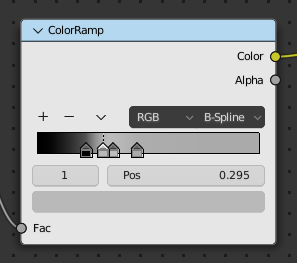
Right now we are making the displacement map, or height map, for the planet. White indicates the highest point, while black indicates the lowest. Let's add a Color Ramp so that we can finely control the output. With some adjustments to the color ramp, the Voronoi Texture turns into many circles, and you can start to see the beginnings of some craters. (The colors are backwards for now, we will fix that later.)

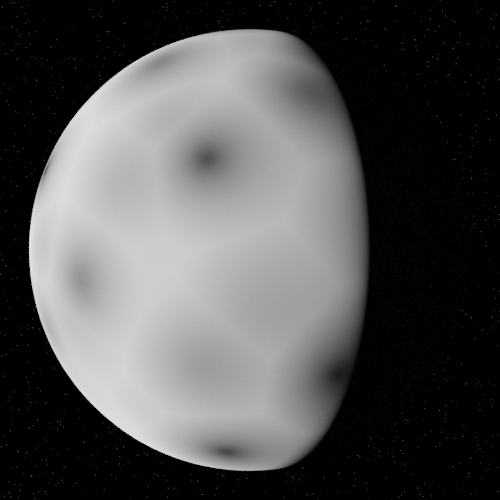
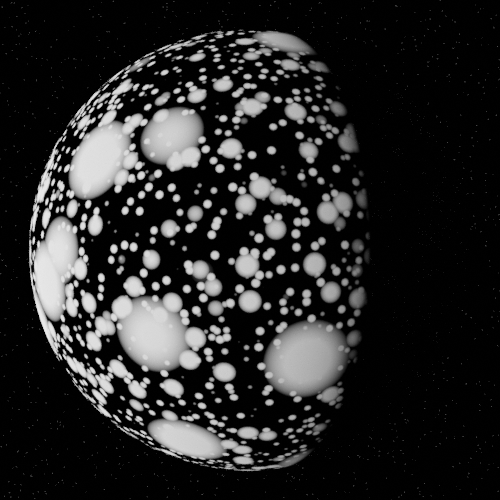
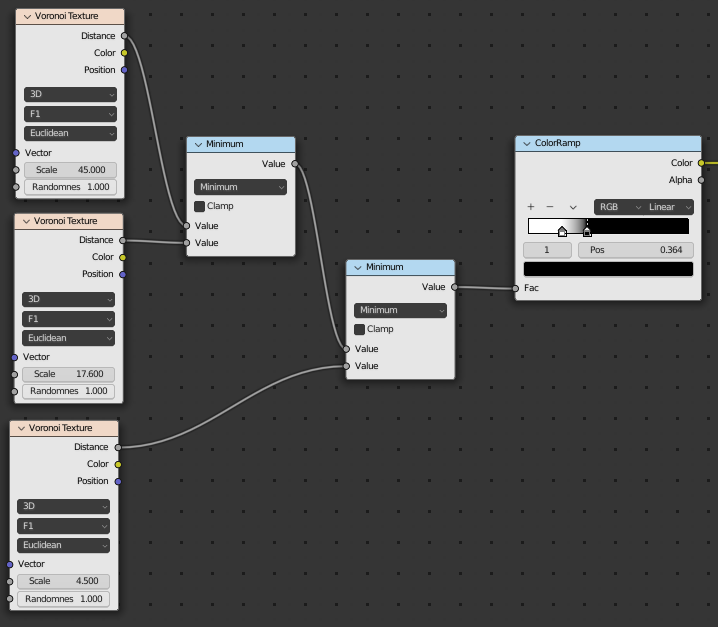
Now we can expand upon that by adding more Voronoi Texture nodes, and adjusting the scales to make circles of different sizes before combining them all. You can play around with whatever method of combining you think looks good, I just chose Minimum.
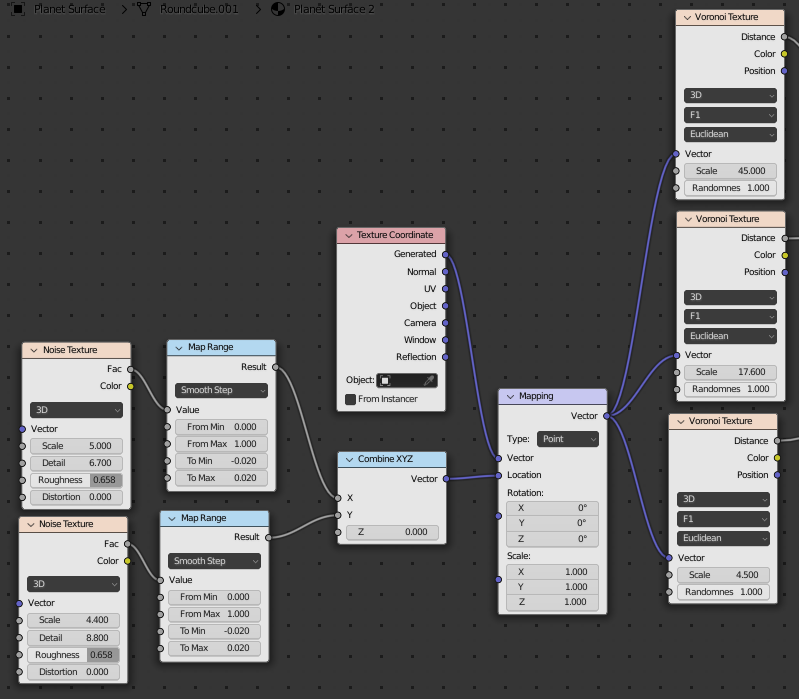
To make the craters look more natural, we should roughen them up a bit. We can do this by adding some Noise Textures and, using a Mapping node, offset the Location of the generated Texture Coordinate. This will distort the Voronoi Textures slightly, giving them a more irregular look. You can use Map Range nodes to adjust the strength of the distortion.
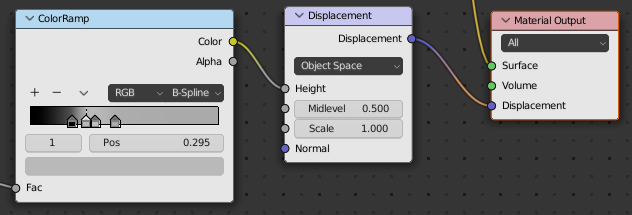
Now we need to adjust the Color Ramp to make a correct displacement map. Remember, White = High, and Black = Low. The inside of our craters should be the lowest point, with a high ridge around the outside.
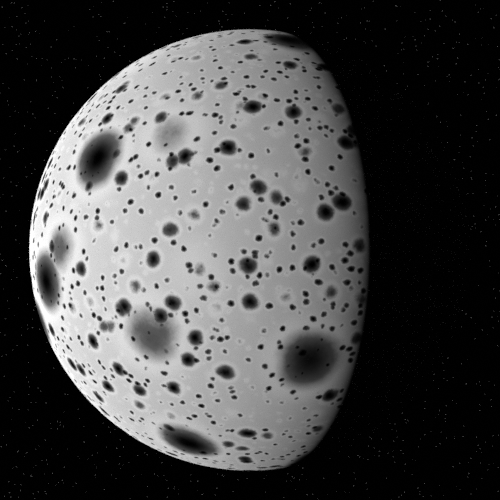
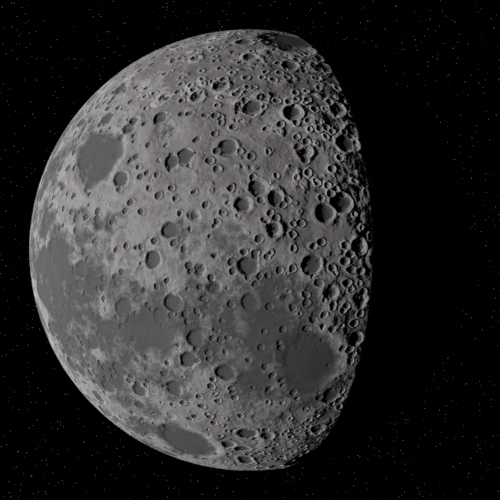
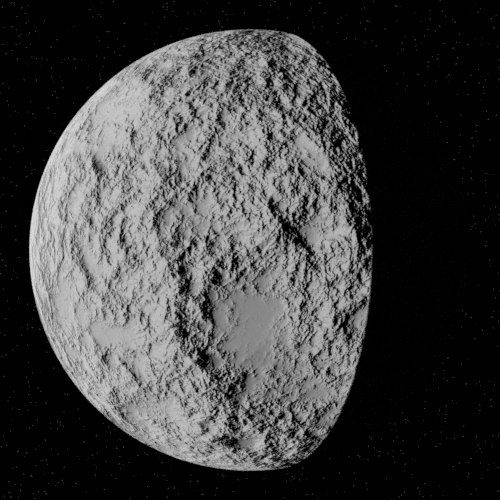
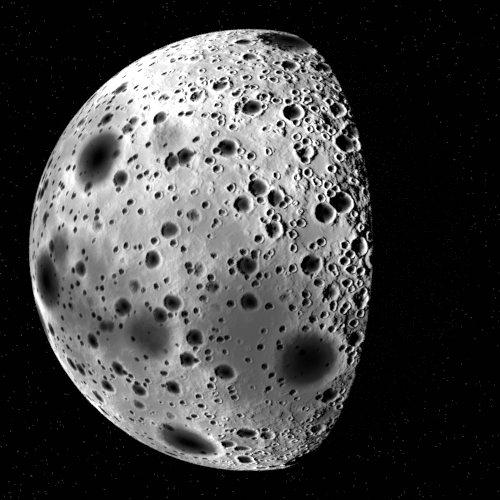
Let's connect the output of our Color Ramp to a Displacement node, and see how it looks.
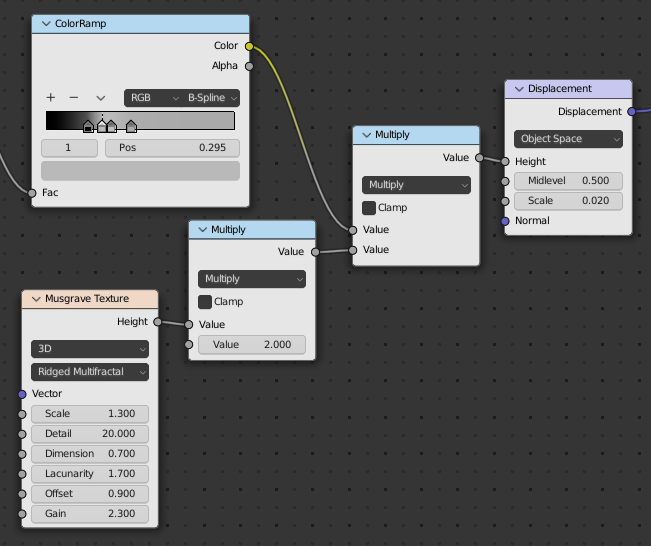
Our craters are looking pretty good so far, with only some adjusting needed. But now we can look at adding a bit of extra noise to our planet. I love using Musgrave Textures for this, as they provide a lot more flexibility than the regular Noise Texture node.
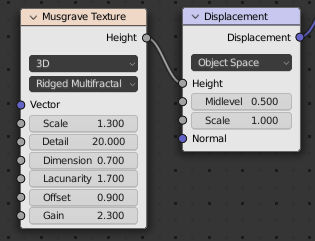
Combining the Color Ramp from our crater setup and the Musgrave Texture gives us this result. I also reduced the Scale of the Displacement by a lot.
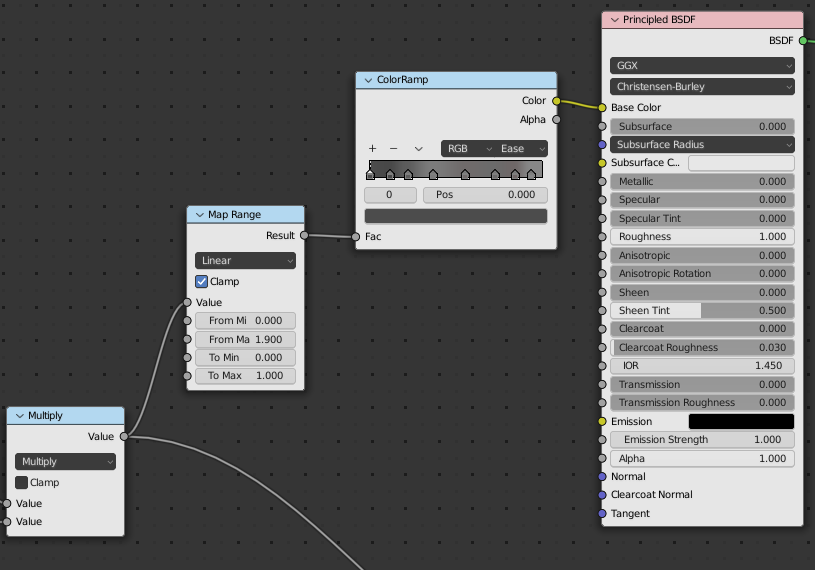
Our displacement map is done! Now we can look at coloring the planet. My favorite way to do this is to just use our displacement value plugged into a Color Ramp. You'll probably need to add a Map Range node, since the height value may be outside the 0 to 1 range needed by the Color ramp.
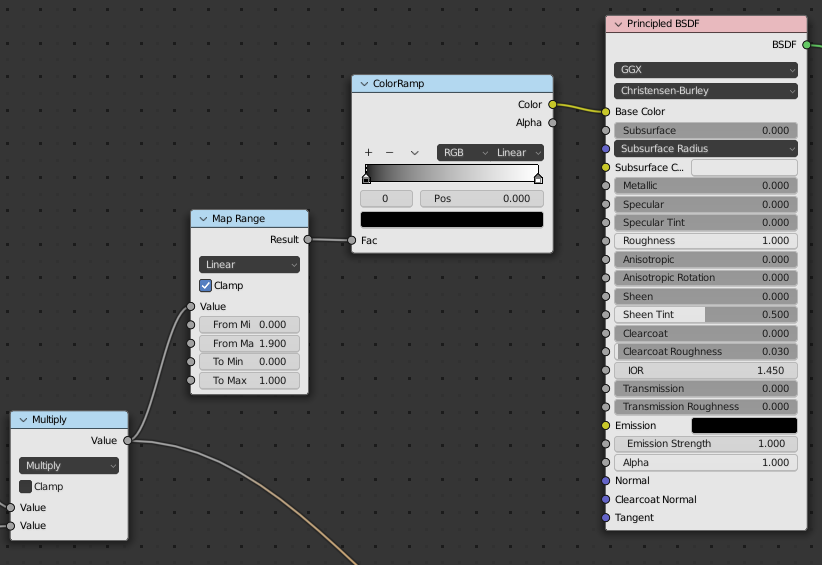
It doesn't look great at first, but by adding many different colors in your Color Ramp, you can get good results.

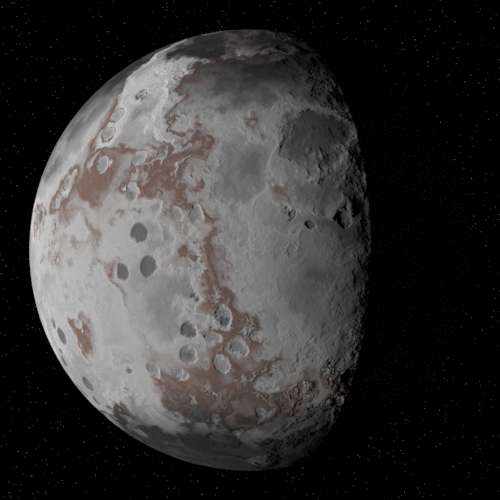
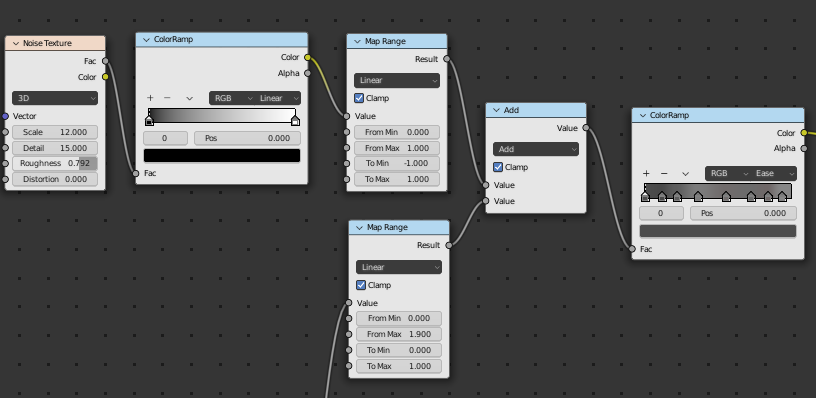
You can also add in another layer of noise to get some extra irregularity in the coloring. Notice the difference in the dark spots on the lower left.
And now we have a 100% procedurally created planet! Click the link below if you would like to download this planet for yourself.
Having the planet be procedurally generated is great because we can easily change any parameter we want to adjust how the planet looks. Doing things this way works for all kinds of planets, you just have to be creative with your nodes.
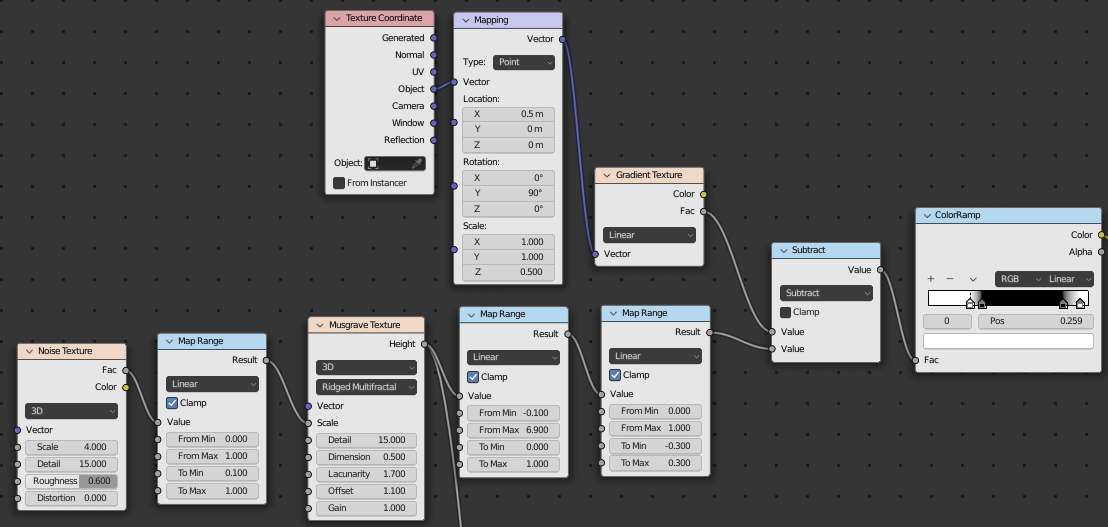
For instance, use different kinds of noise textures and feed noise into different inputs:


You can use a gradient texture to color the planet differently at the poles: